My winter project.
+27
Cheshirecat
Cadge
TomCom
Rampers
MrNutt
Jtpt2007
Panzerbuilder
Big sy
ellie
mrfrance
yamahamad
YZFJohn
0ldcat
Stu
robertcains
Snowcat
stretchie_
SteveCat
HEHORE
firemaster
terry lees
Rosco
greencat
billyw
Radar
Dirt Bike Dave
supraloopy
31 posters
Page 2 of 11
Page 2 of 11 •  1, 2, 3, ... 9, 10, 11
 My winter project.
First topic message reminder :
Hi I'm not sure if this is the place to do this but here goes. I bought my cat about a week ago and have enjoyed getting to grips with it
I'm going to hang on until the weather gets too bad to ride with confidence and then start the job of bringing the bike back to tip top condition :whoop:
I'll put some pics up once I have worked out how to get them off my phone
So keep checking and please comment if you think I'm going wrong anywhere.
Hi I'm not sure if this is the place to do this but here goes. I bought my cat about a week ago and have enjoyed getting to grips with it
I'm going to hang on until the weather gets too bad to ride with confidence and then start the job of bringing the bike back to tip top condition :whoop:
I'll put some pics up once I have worked out how to get them off my phone

So keep checking and please comment if you think I'm going wrong anywhere.

 Re: My winter project.
Loving the tassels ;0) I don't mind if the thread goes off on a tangent as long it keeps people chatting and interested :0) As for the frame and swing arm I'll keep them silver I think. Ohh does anyone know where to get the yzf decals from? or is it yamaha only and bend over time??
I'm pleased you all like my efforts and any niggles or tricks I learn I'll post them up to ;0)
Dave.
I'm pleased you all like my efforts and any niggles or tricks I learn I'll post them up to ;0)
Dave.
 Re: My winter project.
The best decals are Mr Yamaha's

SteveCat- Admin2

-
 Status :
 Online Offline
Number of posts : 5110
Humour : You've gotta be joking
Registration date : 2008-11-06
 Re: My winter project.
Brilliant Stretchie
Not so much Baby Blade but Barbie Blade.
Not so much Baby Blade but Barbie Blade.

Rosco- Admin2

-
 Status :
 Online Offline
Number of posts : 6662
Humour : Oh Go On Then
Registration date : 2008-11-06
 Not alot left..
Only the swing arm, shock, forks and wheels to remove and that's it the complete strip down. This only started as a clean up and colour change.
[img] [/img]
[img] [/img]
[img] [/img]
[img] [/img]
Engine out on your own is errrr fun hoping it don't fall off the jack and break something.. now for the big cleanup and rebuild
[img]
 [/img]
[img]
 [/img]
[img]
 [/img]
[img]
 [/img]
Engine out on your own is errrr fun hoping it don't fall off the jack and break something.. now for the big cleanup and rebuild

 Re: My winter project.
I rode the Blade from Hay on Wye back to Melksham like that, I got some funny looks when overtaking people I tell ya.
Good work on the thread, I'm building a blast cabinet at the moment for stripping things back but no idea whatmedia to use but I'll start another thread for that when the time comes.
I have a spare set of forks and a spare set of carbs I'm going to do first, with the forks I'll strip them but then not sure if I should podwercoat or just varnish them once stripped.
Oh and do yourself a favour, bag and label everything, where possible and appropriate feed bolts back in to the threads they came from with any associated washer in the correct order. It's a bugger when you realise that you've lost a collar for an engine mount bolt or a mounting bolt for you calipers for example, especially when you dismantle something for a night or two and then come back to it two years later, you have no idea what came from where.
Also as dismatling make a note of anything and every little thing you want to replace, like fairing bolts or o rings and where exactly they are to fit. Makes shopping easier rather than when you are putting it back together.
stretchie_- 4Gold

-
 Status :
 Online Offline
Number of posts : 1353
Hobbies : Bikes and 4X4's
Humour : Sarcastic... Oh and cheeky, VERY CHEEKY
Registration date : 2008-11-08
 Last lot of it coming apart.
I can't take it apart any more than this. It's all bagged and labelled and I'll do each bit as it goes back together.
You know that feeling when you should have left it alone and just ridden it..........
[img]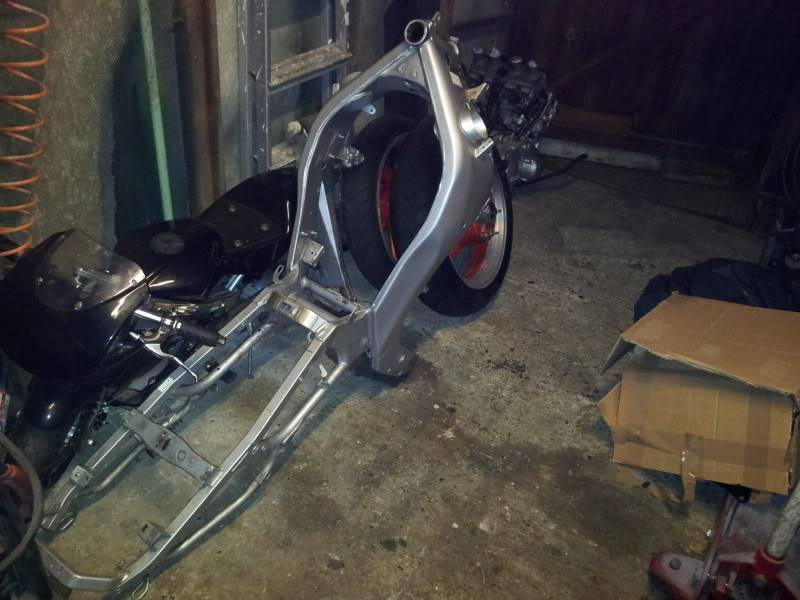 [/img]
[img]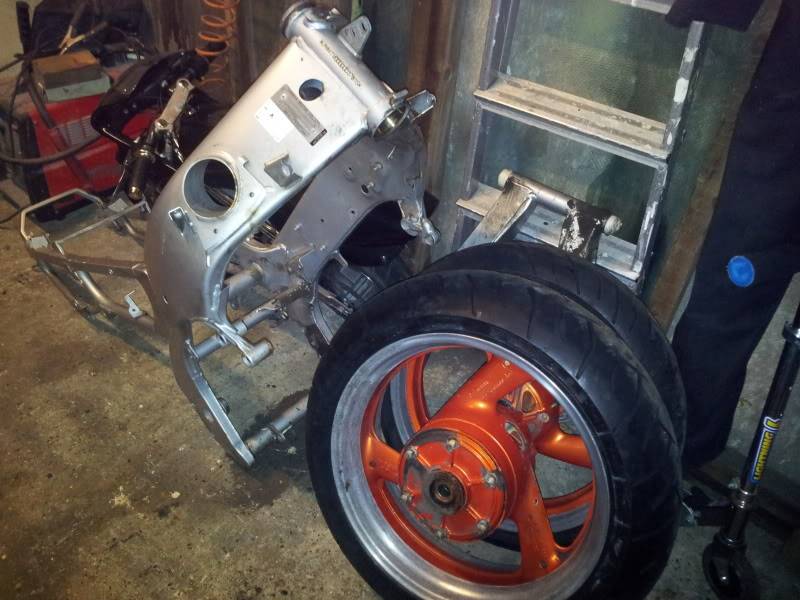 [/img]
[img]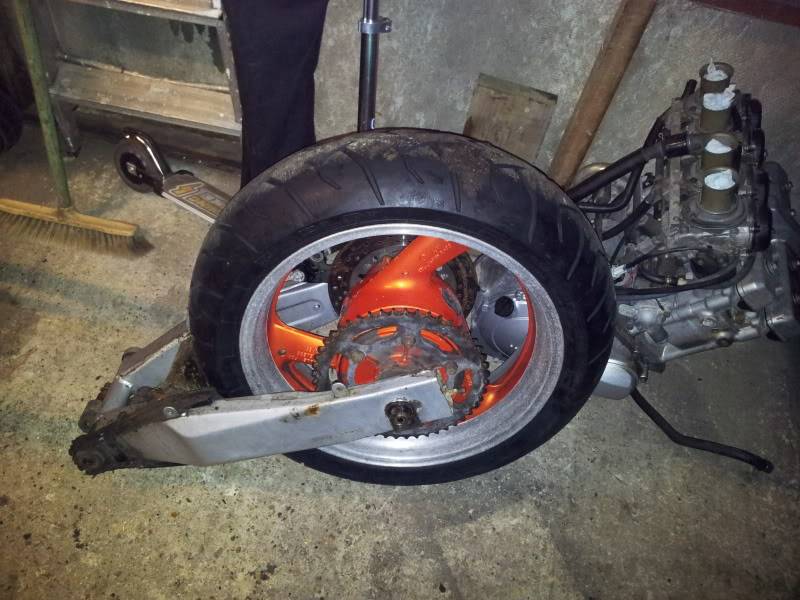 [/img]
[img] [/img]
Now I'll start repainting, cleaning and replacing things..
Thanks for looking
Dave
You know that feeling when you should have left it alone and just ridden it..........
[img]
 [/img]
[img]
 [/img]
[img]
 [/img]
[img]
 [/img]
Now I'll start repainting, cleaning and replacing things..

Thanks for looking
Dave

 Re: My winter project.
OMG - What have you done.
I'd be in tears by now if I found that in my garage and I'd changed my mind about 'breaking for spares'.
Looks like you know what you're doing though but Good Luck anyhoos for putting it all back together without too many spare bits.
Looking forward to seeing each instalment.
Cheers
Rosco
I'd be in tears by now if I found that in my garage and I'd changed my mind about 'breaking for spares'.
Looks like you know what you're doing though but Good Luck anyhoos for putting it all back together without too many spare bits.
Looking forward to seeing each instalment.
Cheers
Rosco

Rosco- Admin2

-
 Status :
 Online Offline
Number of posts : 6662
Humour : Oh Go On Then
Registration date : 2008-11-06
 Just a few more.
Clean up begins,
[img]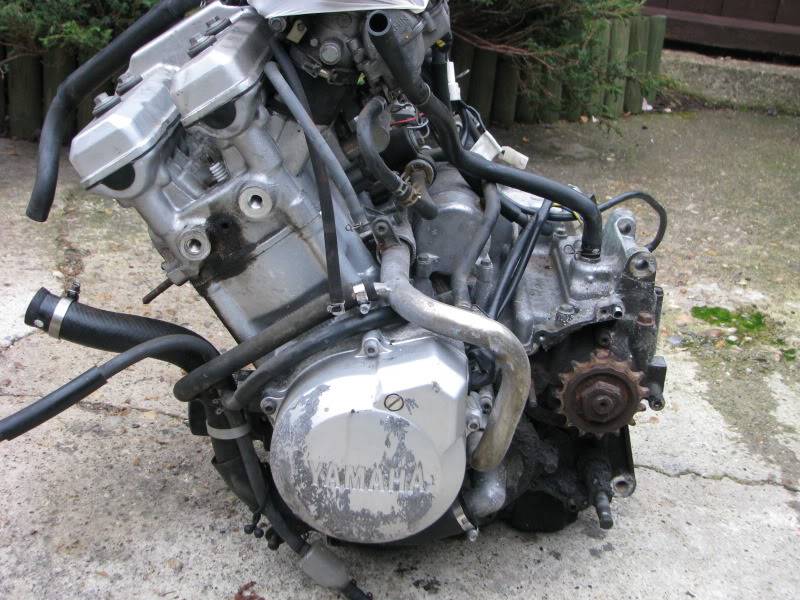 [/img]
[img]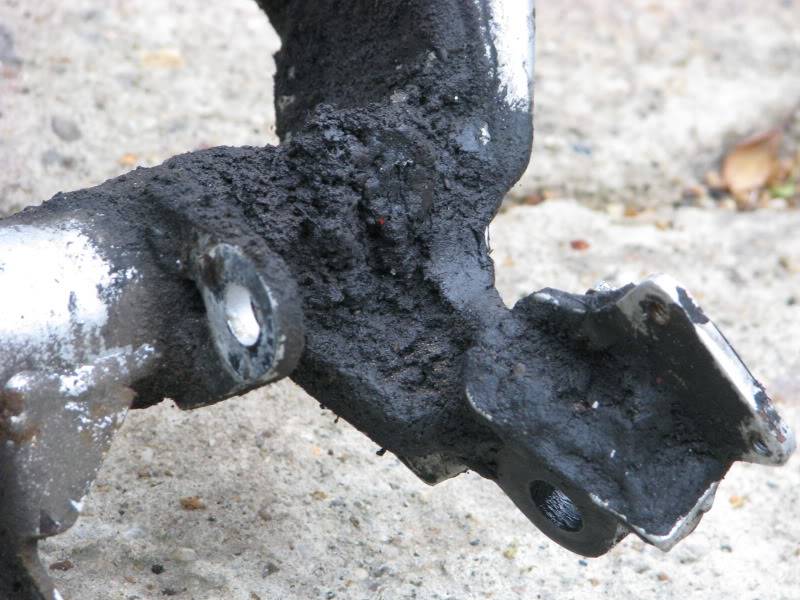 [/img]
[img]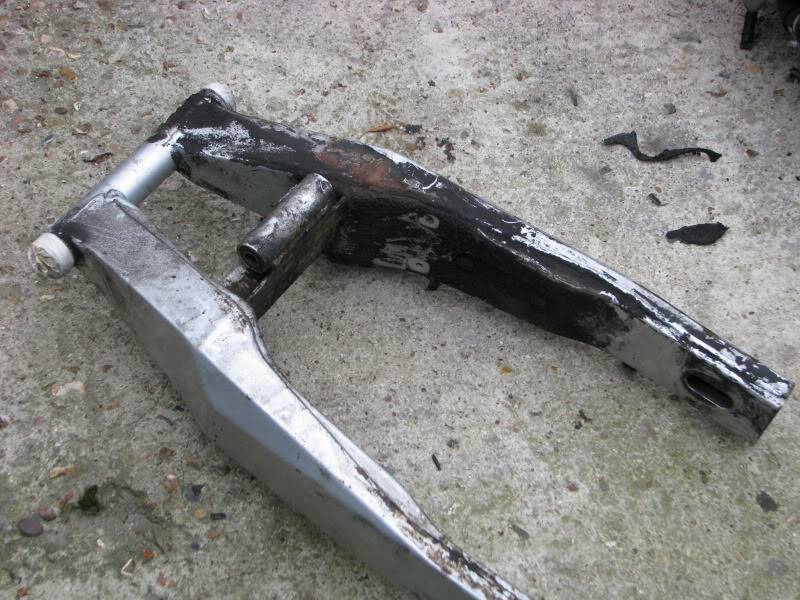 [/img]
[img]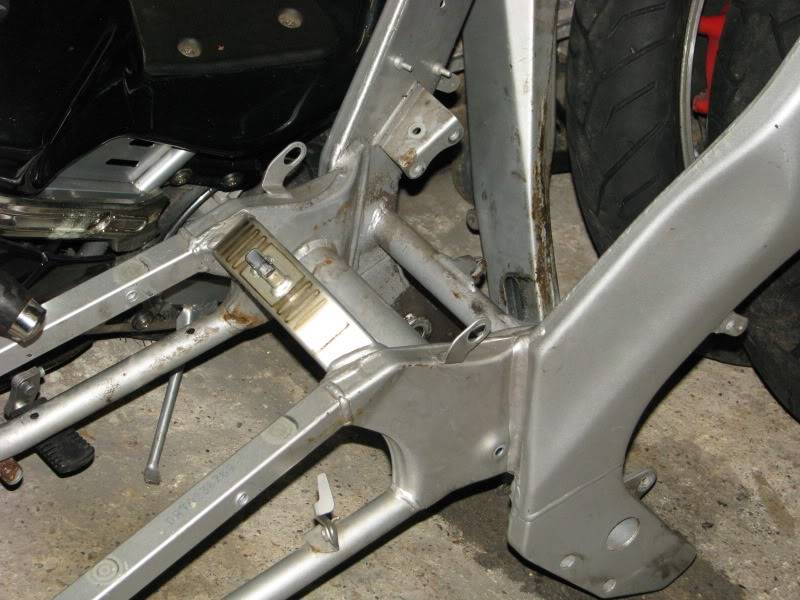 [/img]
[img] [/img]
[img] [/img]
[img] [/img]
[img]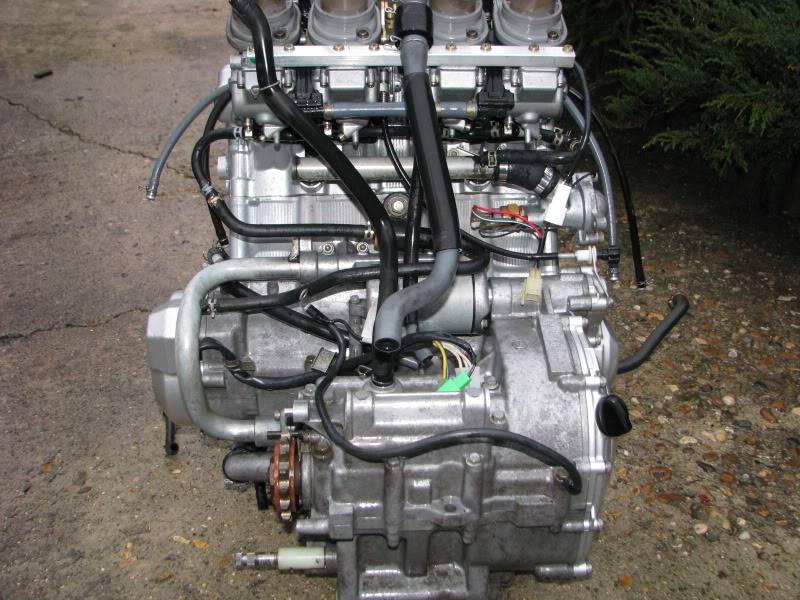 [/img]
[img]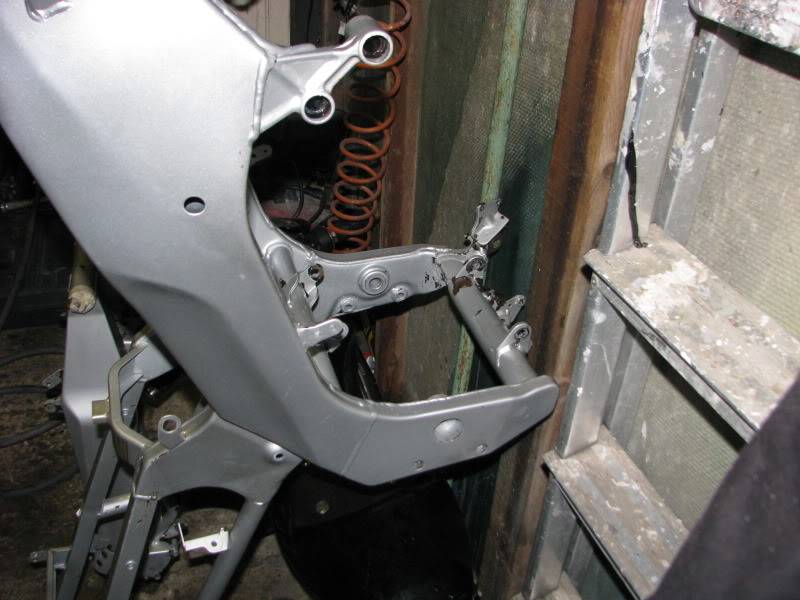 [/img]
Now to start phoning around for powder coating places or do it myself
[img]
 [/img]
[img]
 [/img]
[img]
 [/img]
[img]
 [/img]
[img]
 [/img]
[img]
 [/img]
[img]
 [/img]
[img]
 [/img]
[img]
 [/img]
Now to start phoning around for powder coating places or do it myself

 Re: My winter project.
supraloopy wrote:Clean up begins,
[img][/img]
JESUS.... How big is that swingarm?
supraloopy wrote:Now to start phoning around for powder coating places or do it myself
You'll need a big bloody oven.
This is an interesting read if you are contemplating 'cooking at home'
http://www.baja-forum.co.uk/showthread.php?13061-Powder-coating-oven-build-(homemade)

stretchie_- 4Gold

-
 Status :
 Online Offline
Number of posts : 1353
Hobbies : Bikes and 4X4's
Humour : Sarcastic... Oh and cheeky, VERY CHEEKY
Registration date : 2008-11-08
 Re: My winter project.
Sorry when I said do it myself I meant spray the frame and arm not powder coat.
 Re: My winter project.
that would be the best option,supraloopy wrote:Sorry when I said do it myself I meant spray the frame and arm not powder coat.
after all the original coats has lasted this long.
must admit I'm not a fan of p/coating on the frame.
if its rust underneath and you can't see and by the time you do there'll be a hole there.
I've a couple of classic bike powder coated ..wast of time.
one little chip and thats a start ,you cannot successfully paint it like respray paint.respay the frame thats the best way imo

Guest- Guest
 Re: My winter project.
I feel ashamed, I took the side panels off to clean mime when i bought it and thought I'd made a "really thorough" job of it!! Keep us posted this is damn interesting.
Well done mate
Well done mate
Last edited by stevedj2000 on Tue Nov 15 2011, 20:49; edited 1 time in total (Reason for editing : Big fingers mean Crap spelling app for iPhone!!)

Snowcat- 6Gold

-
 Status :
 Online Offline
Number of posts : 2426
Hobbies : Aluminium & Stainless Steel Sales : Motorcycling, snooker, football, not going out
Humour : Dry, sarcastic, funny, bit cruel, p*ss taking
Registration date : 2011-09-28
 Never again!!
I have to say that rubbing down a bike frame sucks!!!
Swing arm rubbed down and rust treated.
[img] [/img]
Tank primed.
[img]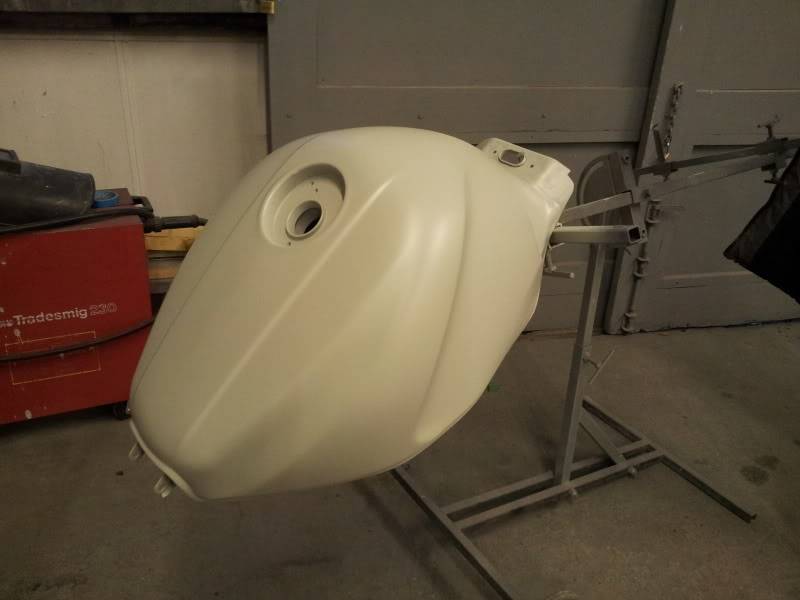 [/img]
Frame and side panels etc.. ready to be primed.
[img] [/img]
Frame and swing arm etch primed.
[img]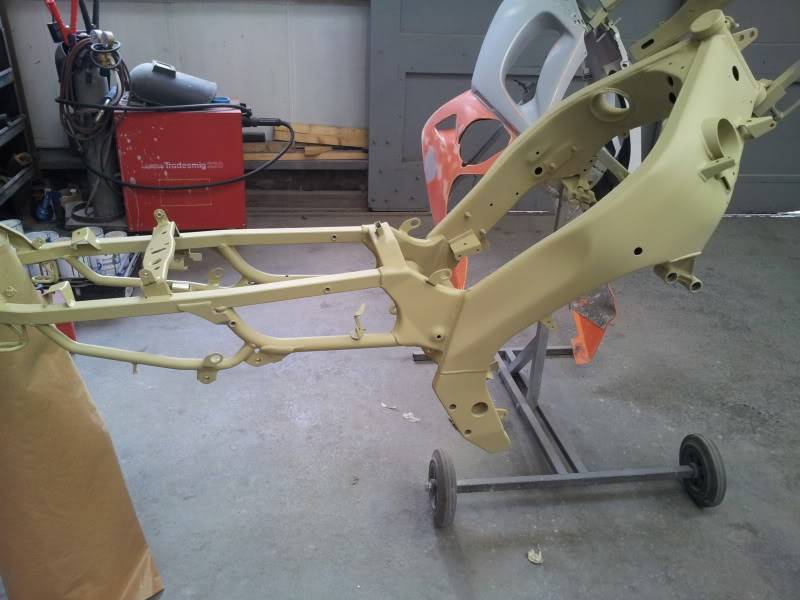 [/img]
[img]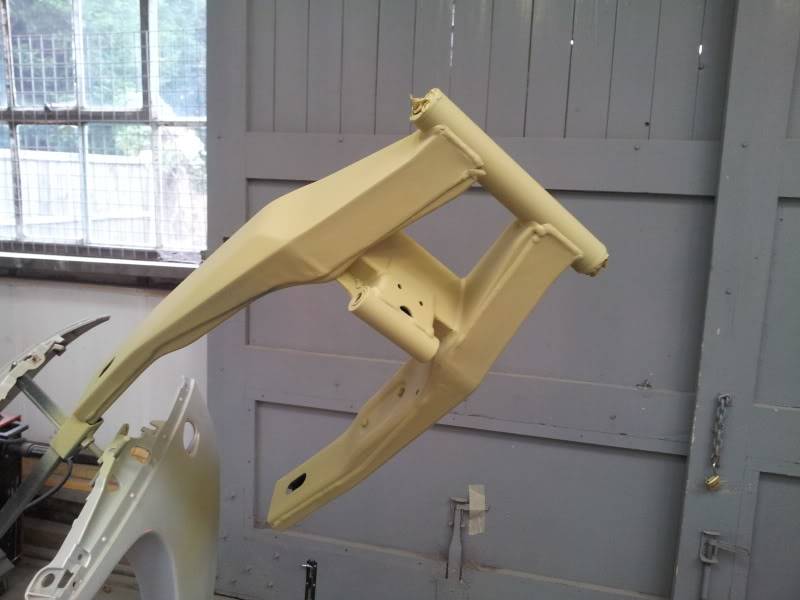 [/img]
[img] [/img]
Frame, swing arm and side panels primed with 2k high build 4-1 primer.
[img] [/img]
[img] [/img]
[img]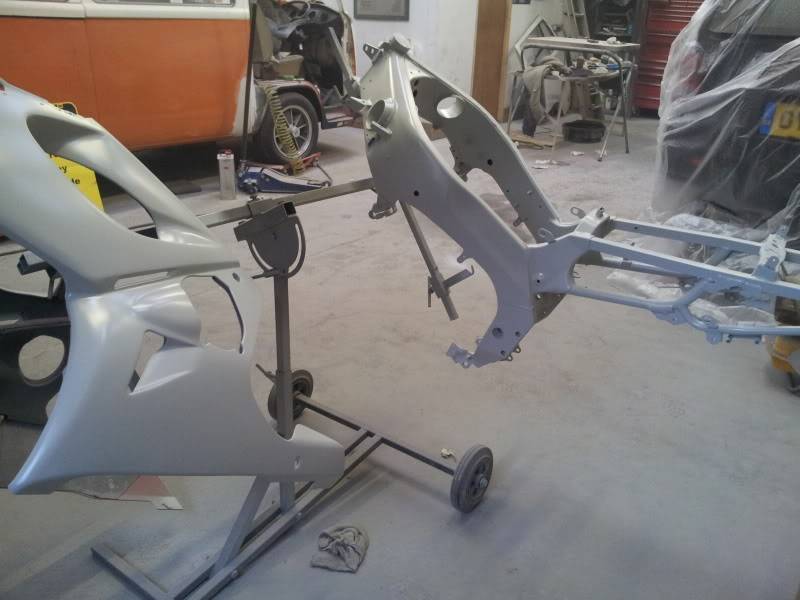 [/img]
I'll be painting the frame and swing arm tomorrow (silver again) then it's the painful part of cleaning, greasing and replacing if needed every bit as it goes back. I'm hoping this will be a nice bike once finished
Swing arm rubbed down and rust treated.
[img]
 [/img]
Tank primed.
[img]
 [/img]
Frame and side panels etc.. ready to be primed.
[img]
 [/img]
Frame and swing arm etch primed.
[img]
 [/img]
[img]
 [/img]
[img]
 [/img]
Frame, swing arm and side panels primed with 2k high build 4-1 primer.
[img]
 [/img]
[img]
 [/img]
[img]
 [/img]
I'll be painting the frame and swing arm tomorrow (silver again) then it's the painful part of cleaning, greasing and replacing if needed every bit as it goes back. I'm hoping this will be a nice bike once finished

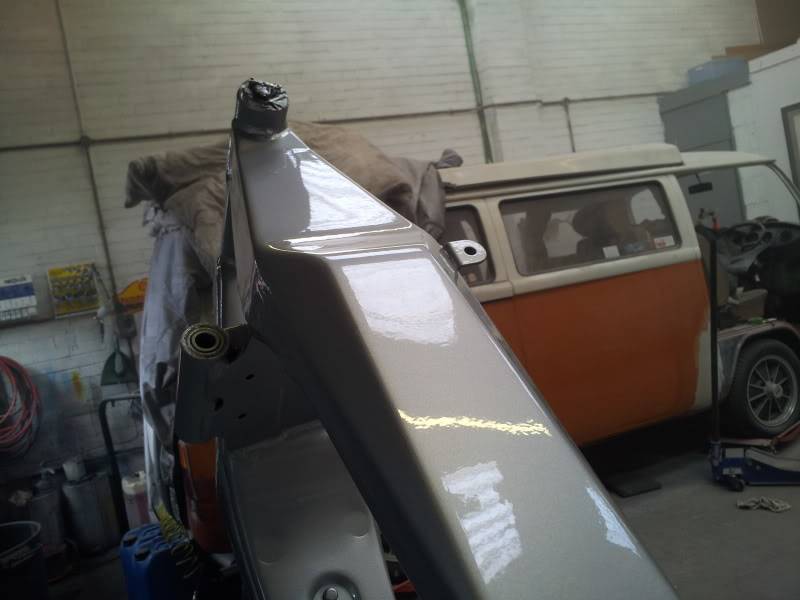
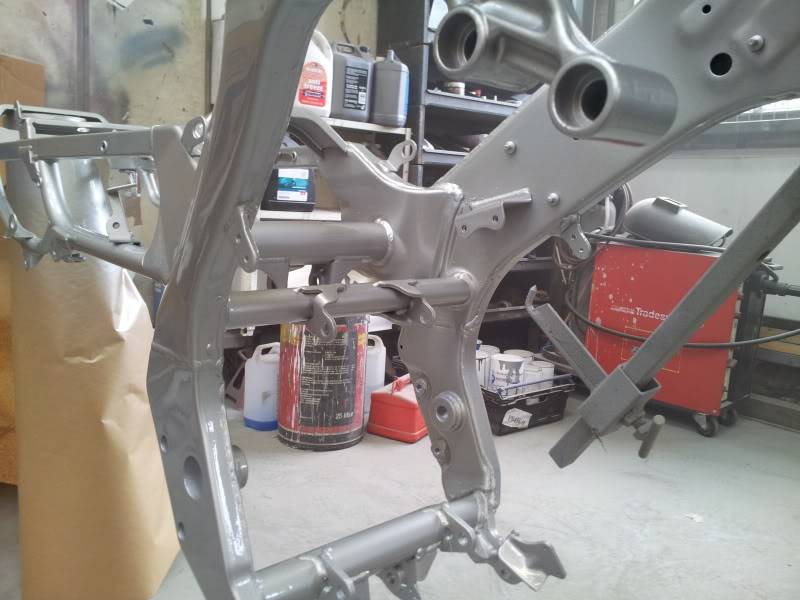
 Painted!!
Frame and arm now painted.


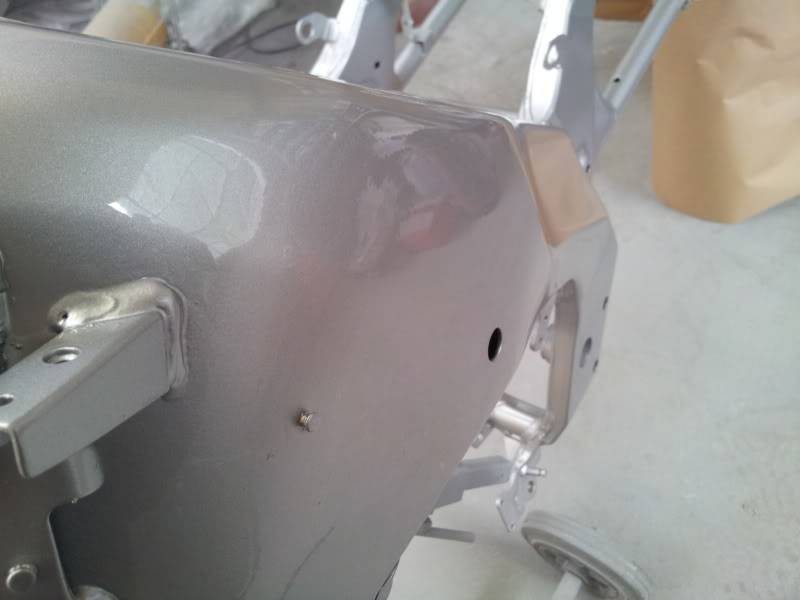
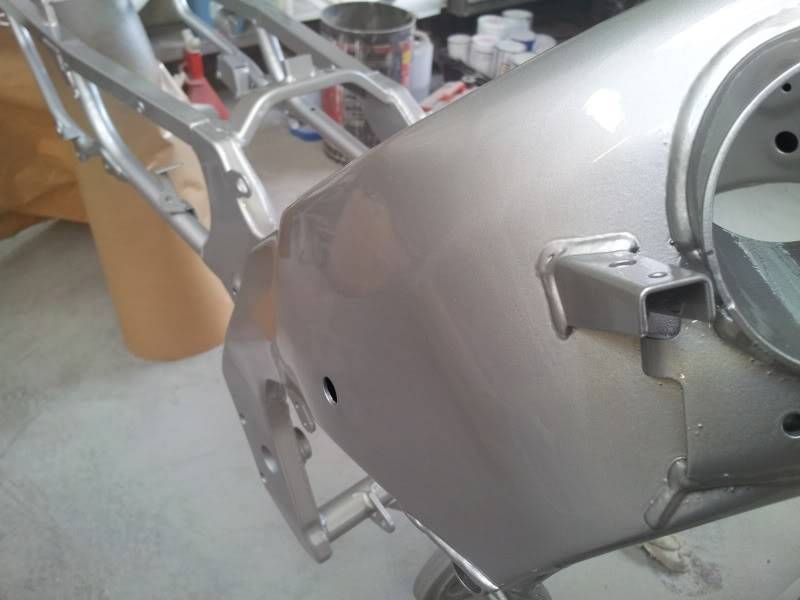
Going to take the shock apart tonight and bring that back to life (pics to follow)
Getting bored yet??


Going to take the shock apart tonight and bring that back to life (pics to follow)
Getting bored yet??

 Re: My winter project.
Nope not bored, enjoying the project as it unfolds. I'm especially interested in the rear shock project, I'm going to undertake this myself over the winter and need all the help I can get, plenty pics and advice please:)

Snowcat- 6Gold

-
 Status :
 Online Offline
Number of posts : 2426
Hobbies : Aluminium & Stainless Steel Sales : Motorcycling, snooker, football, not going out
Humour : Dry, sarcastic, funny, bit cruel, p*ss taking
Registration date : 2011-09-28
 Re: My winter project.
I'm really enjoying this thread, as a panel beater/painter myself its great to see the job stripped right down to the frame for a rebuild.
I'd love to take on a project like this if I could find the time as she will look brilliant when finished. Keep up the good work & the pics please
I'd love to take on a project like this if I could find the time as she will look brilliant when finished. Keep up the good work & the pics please


robertcains- Admin2

-
 Status :
 Online Offline
Number of posts : 2160
Humour : Lol. No chance!!
Registration date : 2009-01-10
 Re: My winter project.
Cant belive the progress your making. Looks top quality work. Keep the updates coming 
Stu- 1Silver

-
 Status :
 Online Offline
Number of posts : 129
Hobbies : Engineer/Surfing
Registration date : 2011-04-03
 Shocking news ;0)
Well I'm just in from the garage and have cleaned the shock up for paint tomorrow (ish)
DO NOT remove the hose as it's gas filled but the spring can be removed quite easy.
You will need a small pair of spring clamps and set the adjuster (bottom one) to soft anti clockwise all the way. Then compress and remove the retainer (c shape thing) you do not need to compress the spring much.
I have also cleaned up the stand and a few other bits as they are going to be black as well (pics to follow)
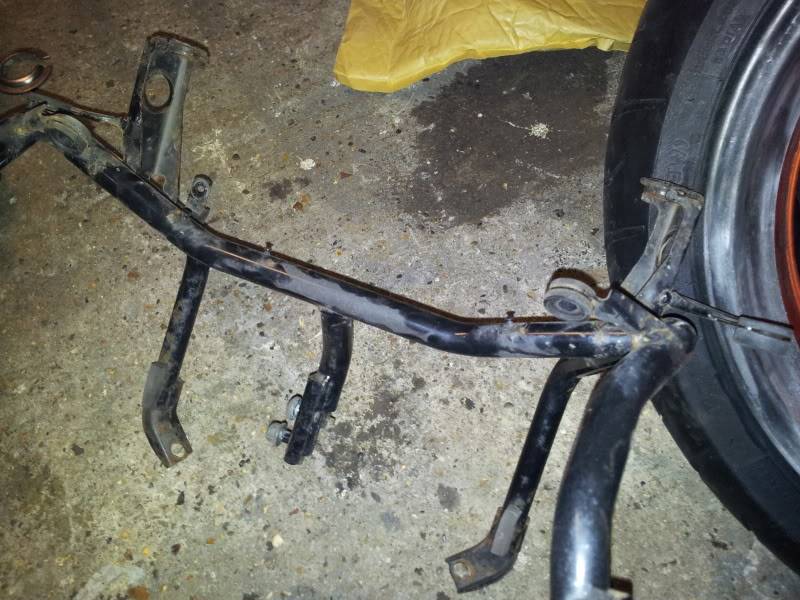
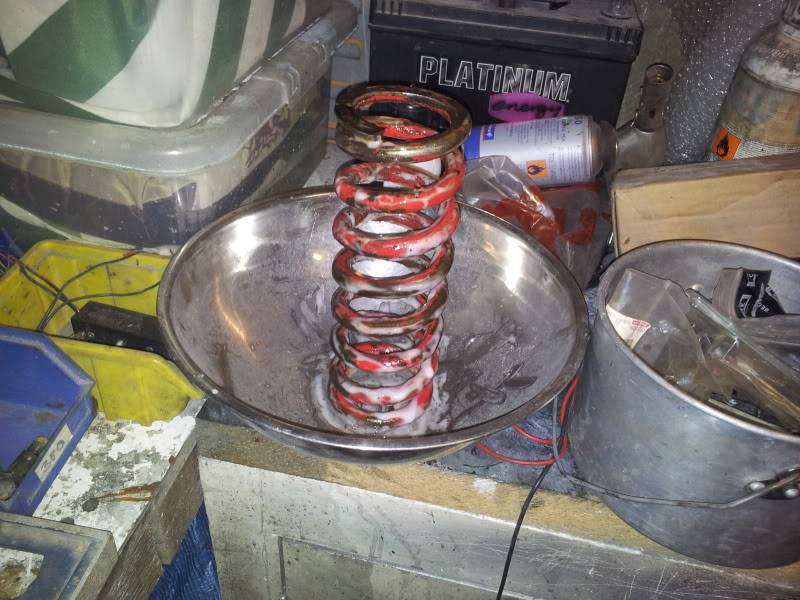
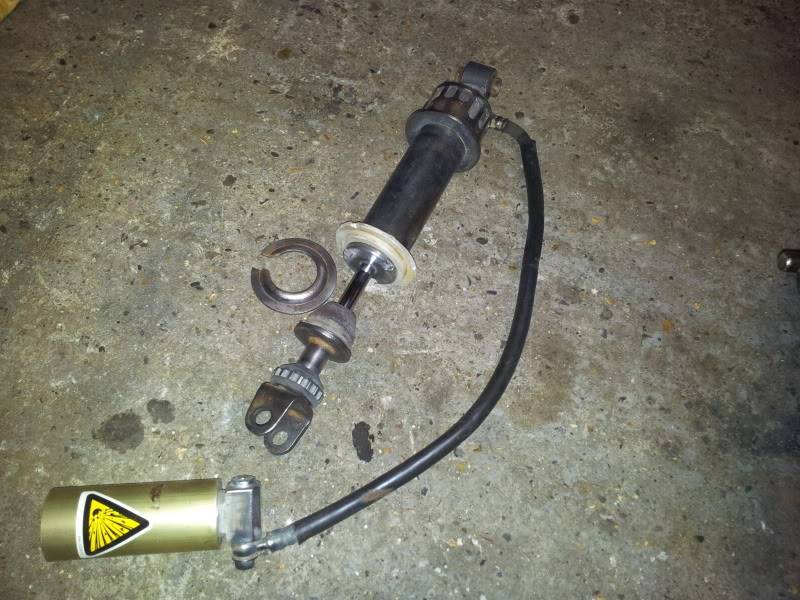

I'm making so much progress because I'm putting in the hours, I'm also trying to run a company but in between jobs I'm getting on with the bike whilst the interest is still there
I'm glad you are all enjoying this thread there is a long way to go so lets see how many bits I have left over

Dave
DO NOT remove the hose as it's gas filled but the spring can be removed quite easy.
You will need a small pair of spring clamps and set the adjuster (bottom one) to soft anti clockwise all the way. Then compress and remove the retainer (c shape thing) you do not need to compress the spring much.
I have also cleaned up the stand and a few other bits as they are going to be black as well (pics to follow)


I'm making so much progress because I'm putting in the hours, I'm also trying to run a company but in between jobs I'm getting on with the bike whilst the interest is still there

I'm glad you are all enjoying this thread there is a long way to go so lets see how many bits I have left over


Dave

 Re: My winter project.
The frame and swing arm looks amazing.
So with it being 2 pack did you do it in your garage or somewhere else? Did you have an air fed mask? It really does look good.
So with it being 2 pack did you do it in your garage or somewhere else? Did you have an air fed mask? It really does look good.

stretchie_- 4Gold

-
 Status :
 Online Offline
Number of posts : 1353
Hobbies : Bikes and 4X4's
Humour : Sarcastic... Oh and cheeky, VERY CHEEKY
Registration date : 2008-11-08
 Re: My winter project.
stretchie_ wrote:The frame and swing arm looks amazing.
So with it being 2 pack did you do it in your garage or somewhere else? Did you have an air fed mask? It really does look good.
I have a workshop (own business) That the paintwork gets done in. Yes I have an airfed mask.
Last edited by supraloopy on Thu Nov 17 2011, 18:06; edited 1 time in total (Reason for editing : numpty advice.)
 A little different..
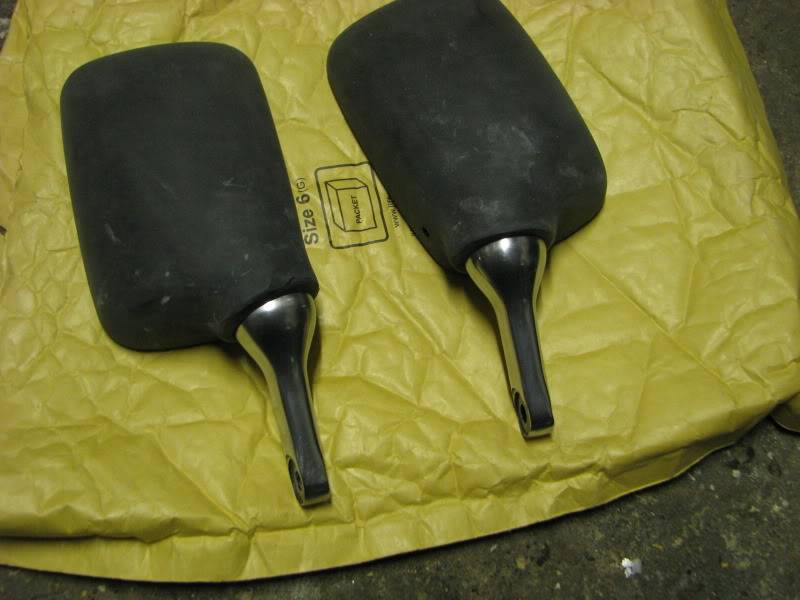
Well some of my bits have turned up so I'm like a kid at christmas 

Also while cleaning up the mirrors I noticed they are alloy stalks so I thought hmmm I wonder if they will polish up???
Well I have given it a go and also removed the stamping on the back of the mirror to give it a more smooth look, the mirrors are going black with polished stalks, I'm not sure if I like it yet but we'll see.

 Re: My winter project.
Hey Dave..... in photo 311.... you missed a bit! 
Actually, I jest. Loving the thread and the pics. It's quite a master-class you're giving.
Wish I had the time to do something like that. One day maybe - or maybe not
Keep up the good work!

Actually, I jest.
Wish I had the time to do something like that. One day maybe - or maybe not

Keep up the good work!

greencat- Admin2

-
 Status :
 Online Offline
Number of posts : 1558
Hobbies : Computers/Landscape/Travel/Sleep
Humour : Lots of things make me laugh!
Registration date : 2008-11-08
 Re: My winter project.
0ldcat wrote:Surprised you didn't go for the pazzo (or equiv) brake & clutch levers
You may want to see my research here: After Market leavers
John.
YZFJohn- 5Gold

-
 Status :
 Online Offline
Number of posts : 1688
Hobbies : Job: IT/ Hobbies: Biking/ Fishing
Humour : Gradually Leaving me.
Registration date : 2011-06-13
 Re: My winter project.
Nice work mate. You are making really good progress.
Paul.
Paul.
yamahamad- 6Gold

-
 Status :
 Online Offline
Number of posts : 2002
Hobbies : Bmw technician. Weight training. Music. Beer.
Humour : big american 4x4?
Registration date : 2009-11-16
 Few more bits done.
Well I'm cracking on, my winter project looks like at this rate I'll be going for a christmas day ride :lol3:

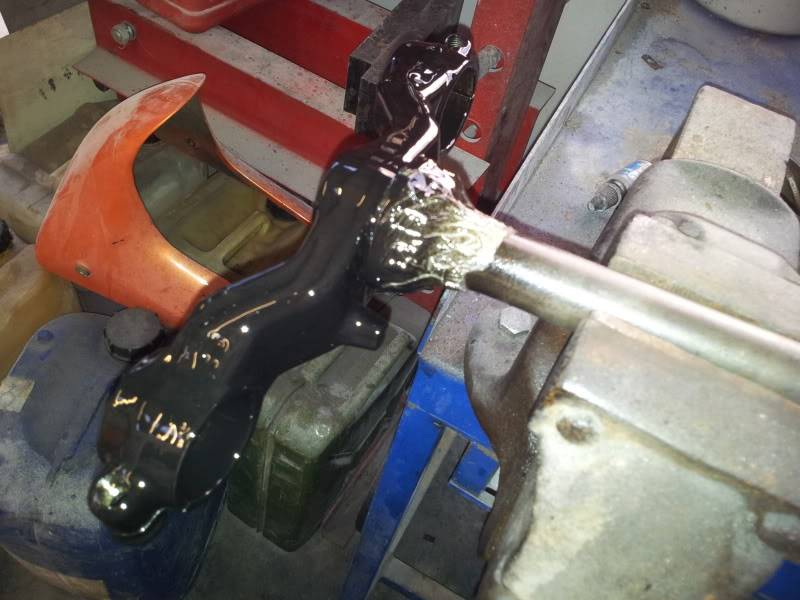

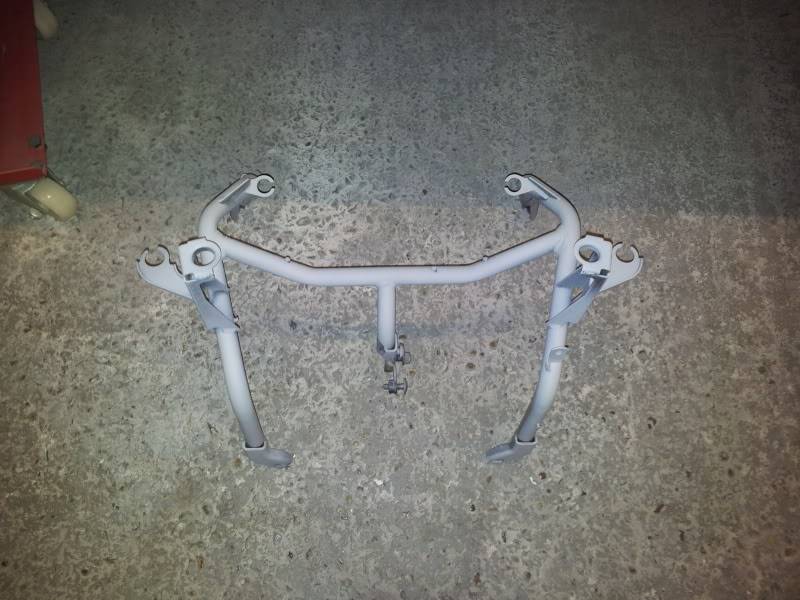
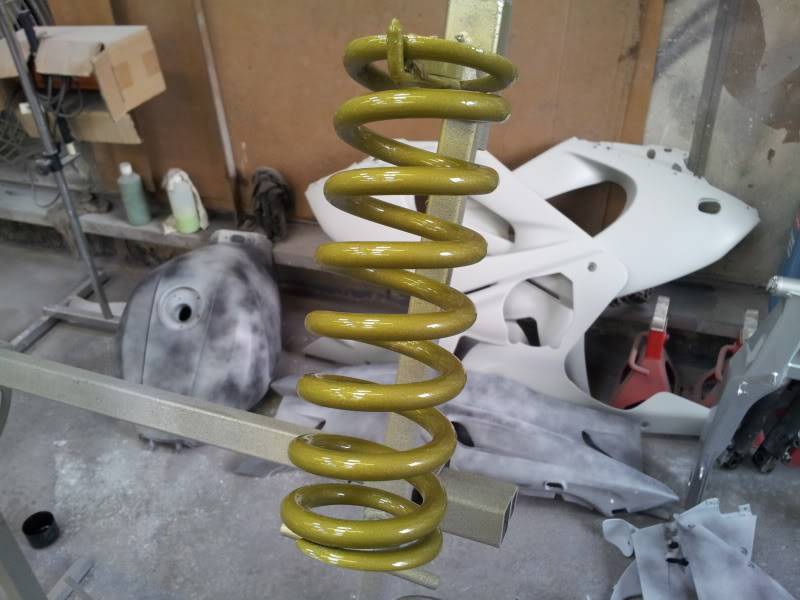
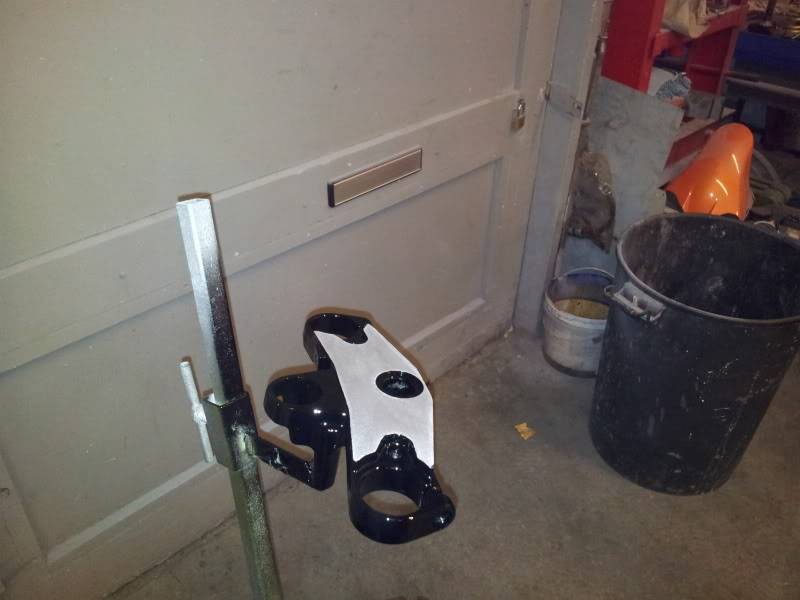
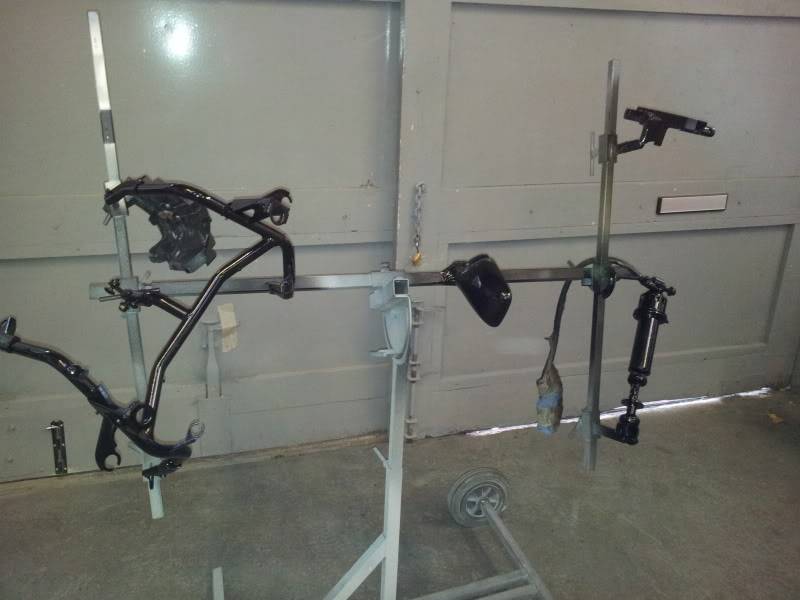
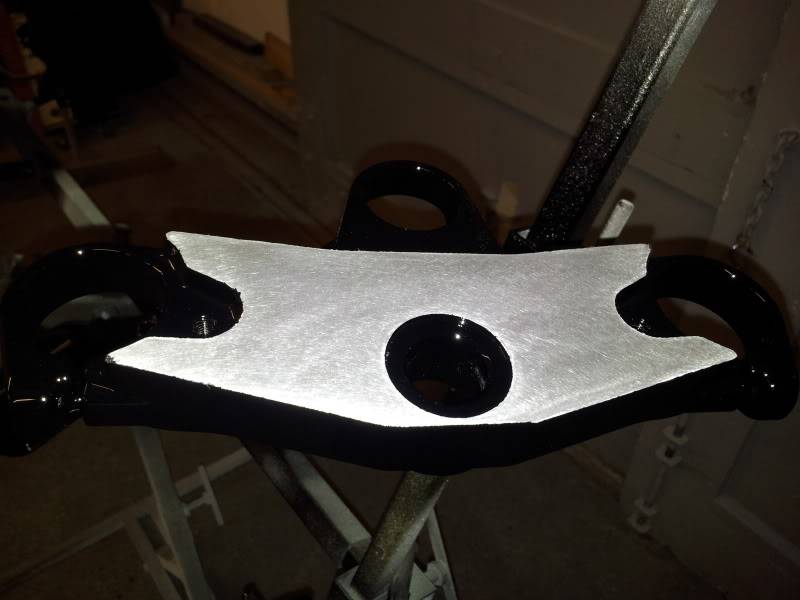
I also thought while the engine was out I'd do the valve clearances.


I also thought while the engine was out I'd do the valve clearances.

Page 2 of 11 •  1, 2, 3, ... 9, 10, 11
 Similar topics
» Winter 'cat project
» Winter project!
» Starting the cat after winter - Help
» Hid away for winter?!
» Winter has arrived...
» Winter project!
» Starting the cat after winter - Help
» Hid away for winter?!
» Winter has arrived...
Page 2 of 11
Permissions in this forum:
You cannot reply to topics in this forum


